Installation and Setup
Follow these simple steps to get started with BLACKBOX AI in VS Code:Step 1: Install the Extension
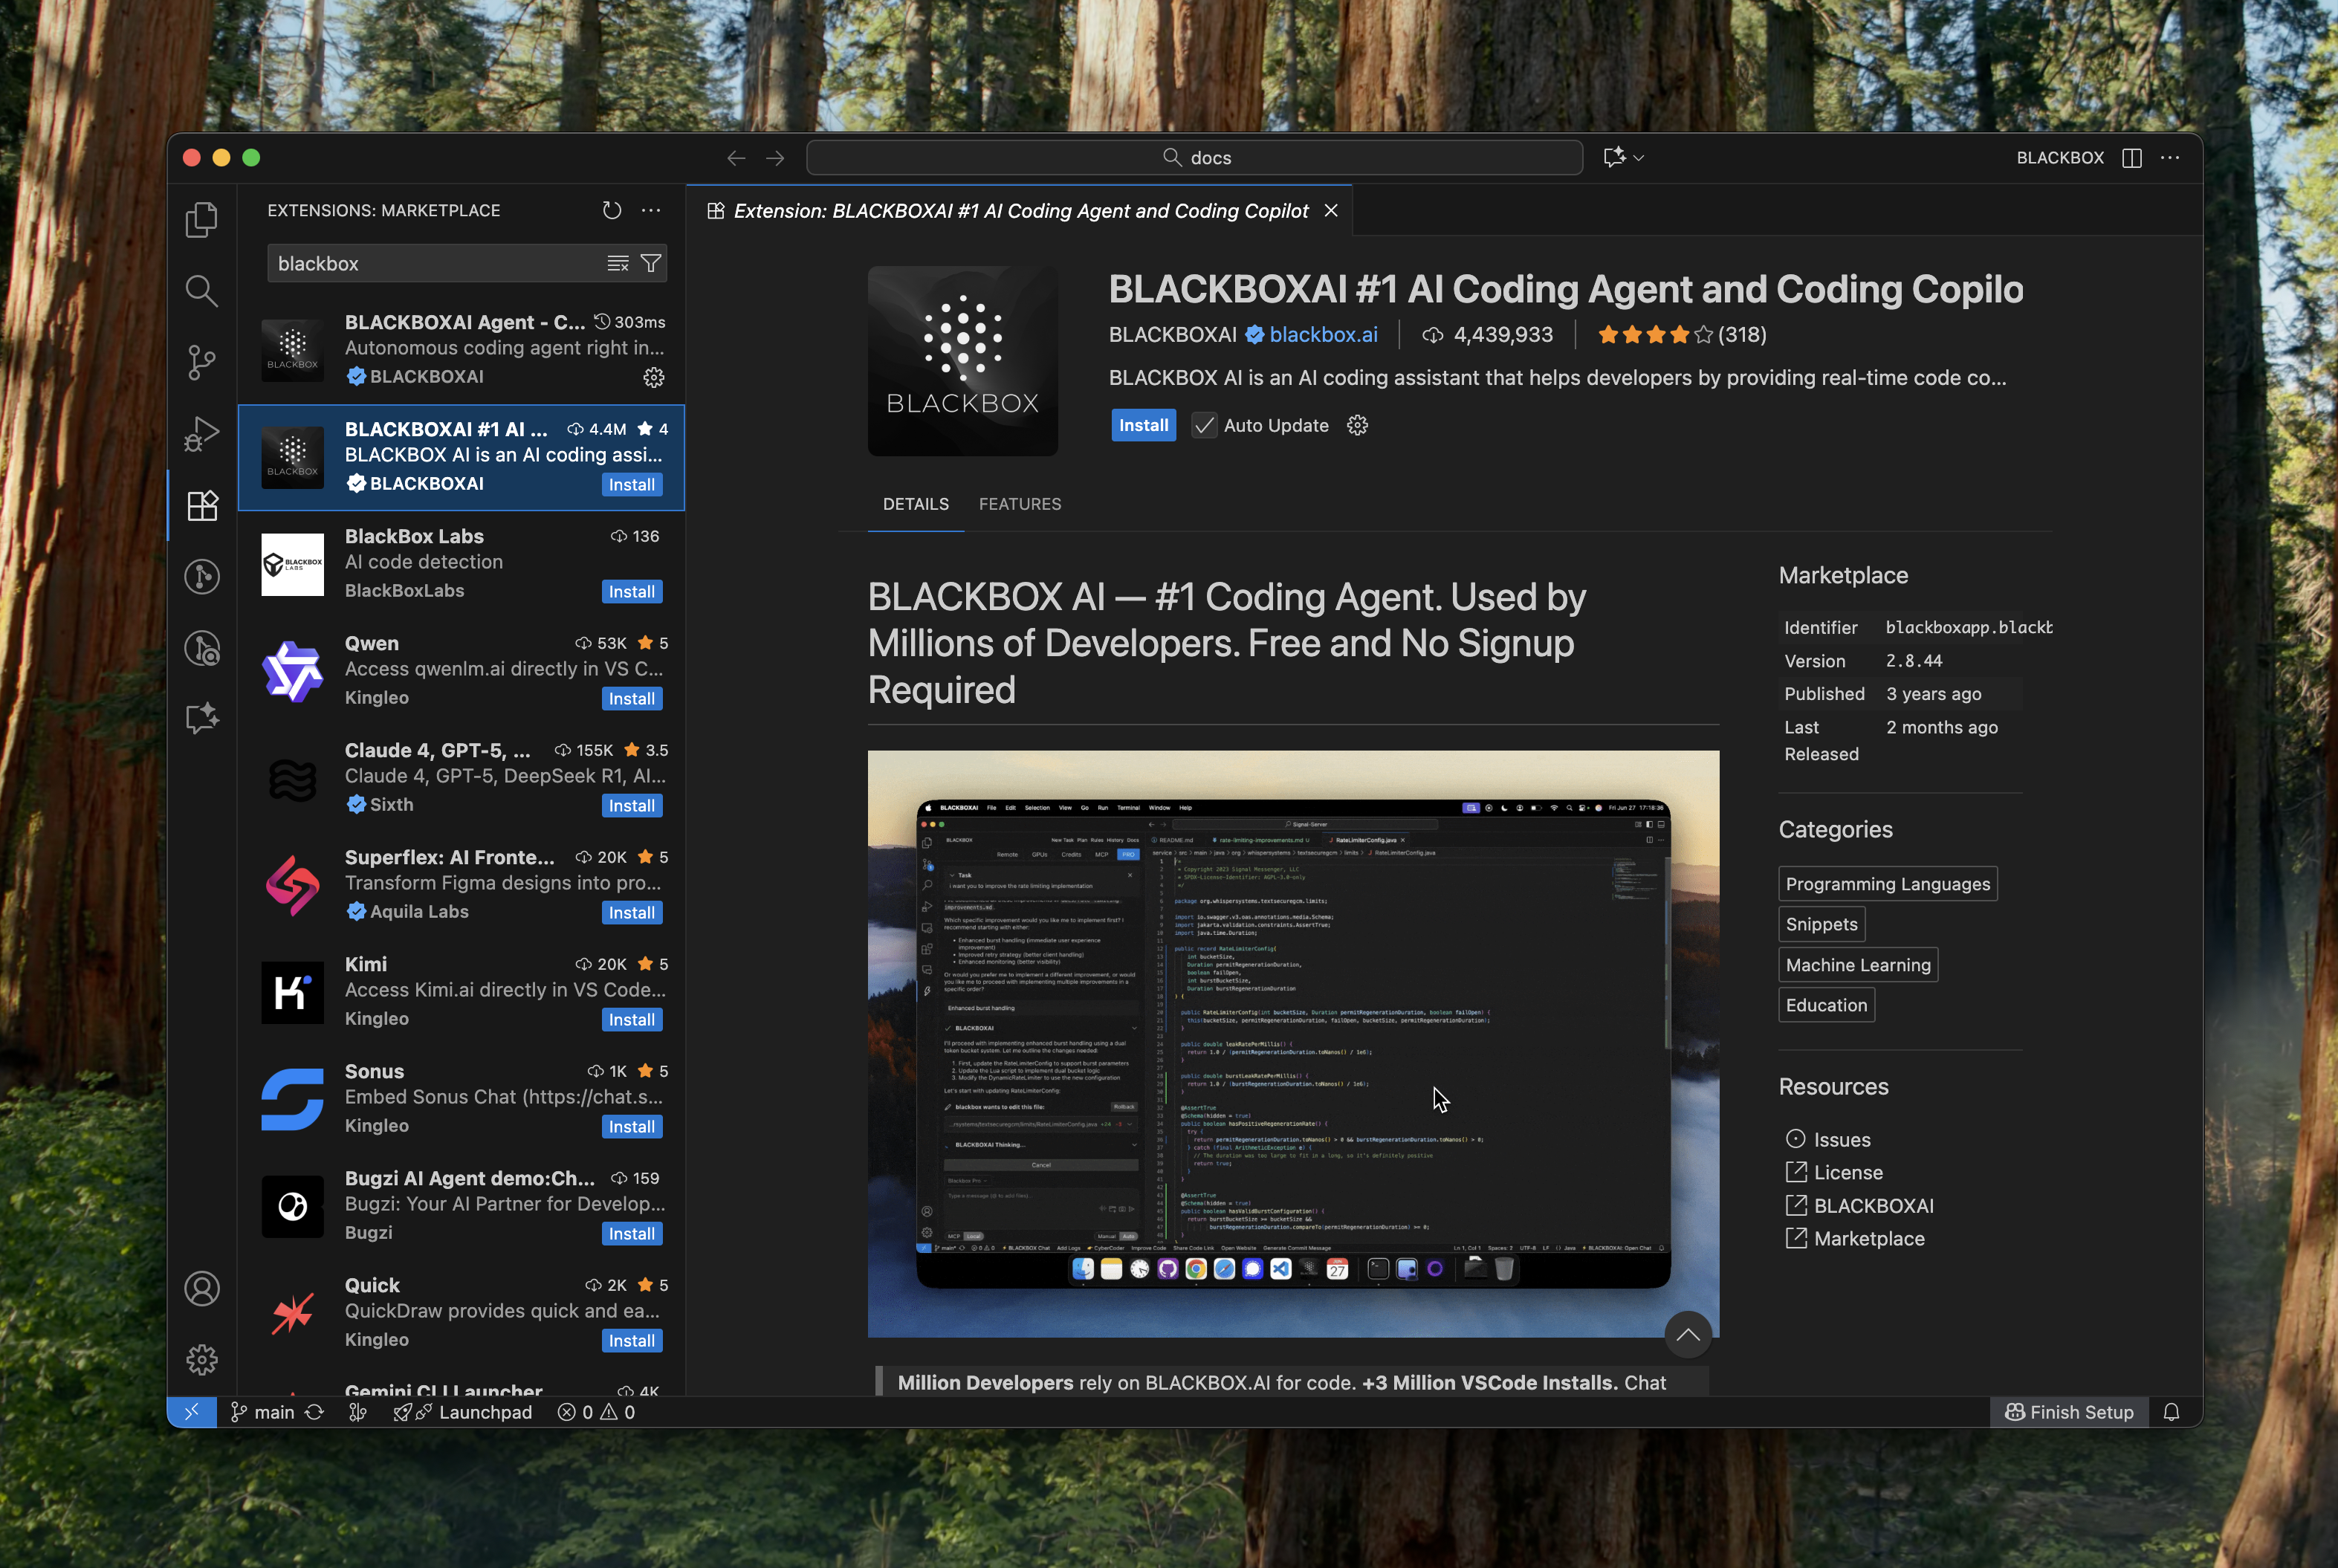
You can install the BLACKBOX AI extension in two ways: Option A: From VS Code Open VS Code, navigate to the Extensions view (Ctrl+Shift+X), search for “BLACKBOX AI”, and click Install.
Option B: From VS Code Marketplace
Visit the BLACKBOX AI extension page on the VS Code Marketplace and click Install.
Step 2: Find the AI Agent Icon
After installation, you’ll see the AI Agent icon appear on the right side of your VS Code interface.Step 3: Connect Your Account
Click on the AI Agent icon and connect your BLACKBOX AI account to start using the extension.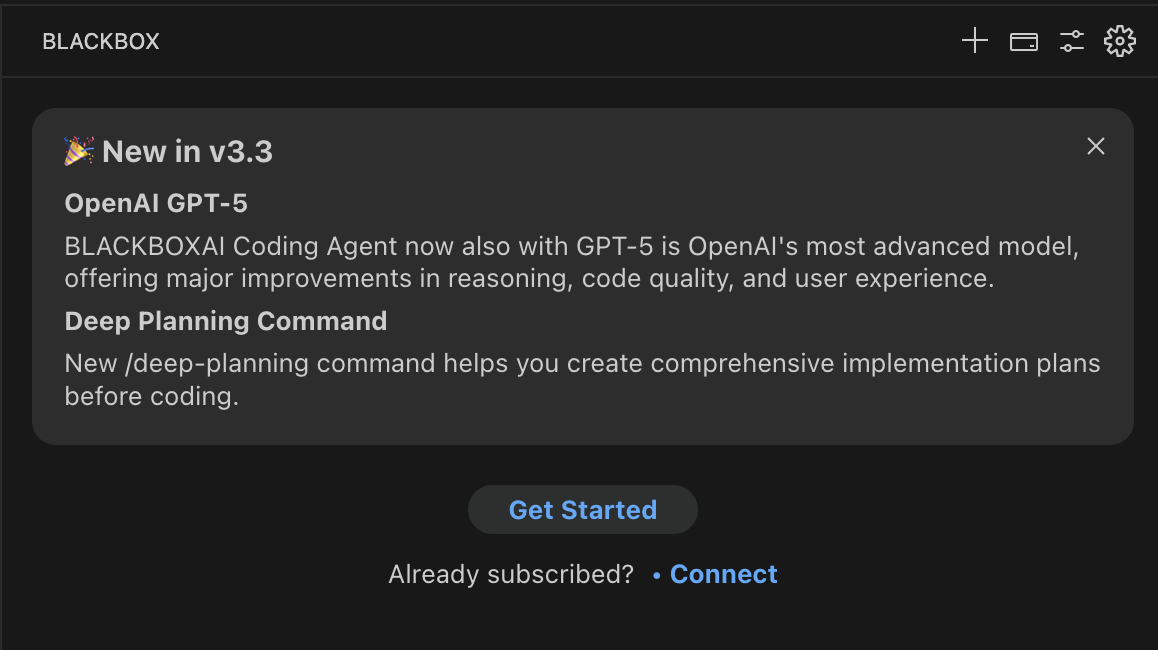
Step 4: Start Using AI Assistance
Now you can start giving tasks to the BLACKBOX AI Coding Agent for both new projects and existing project improvements.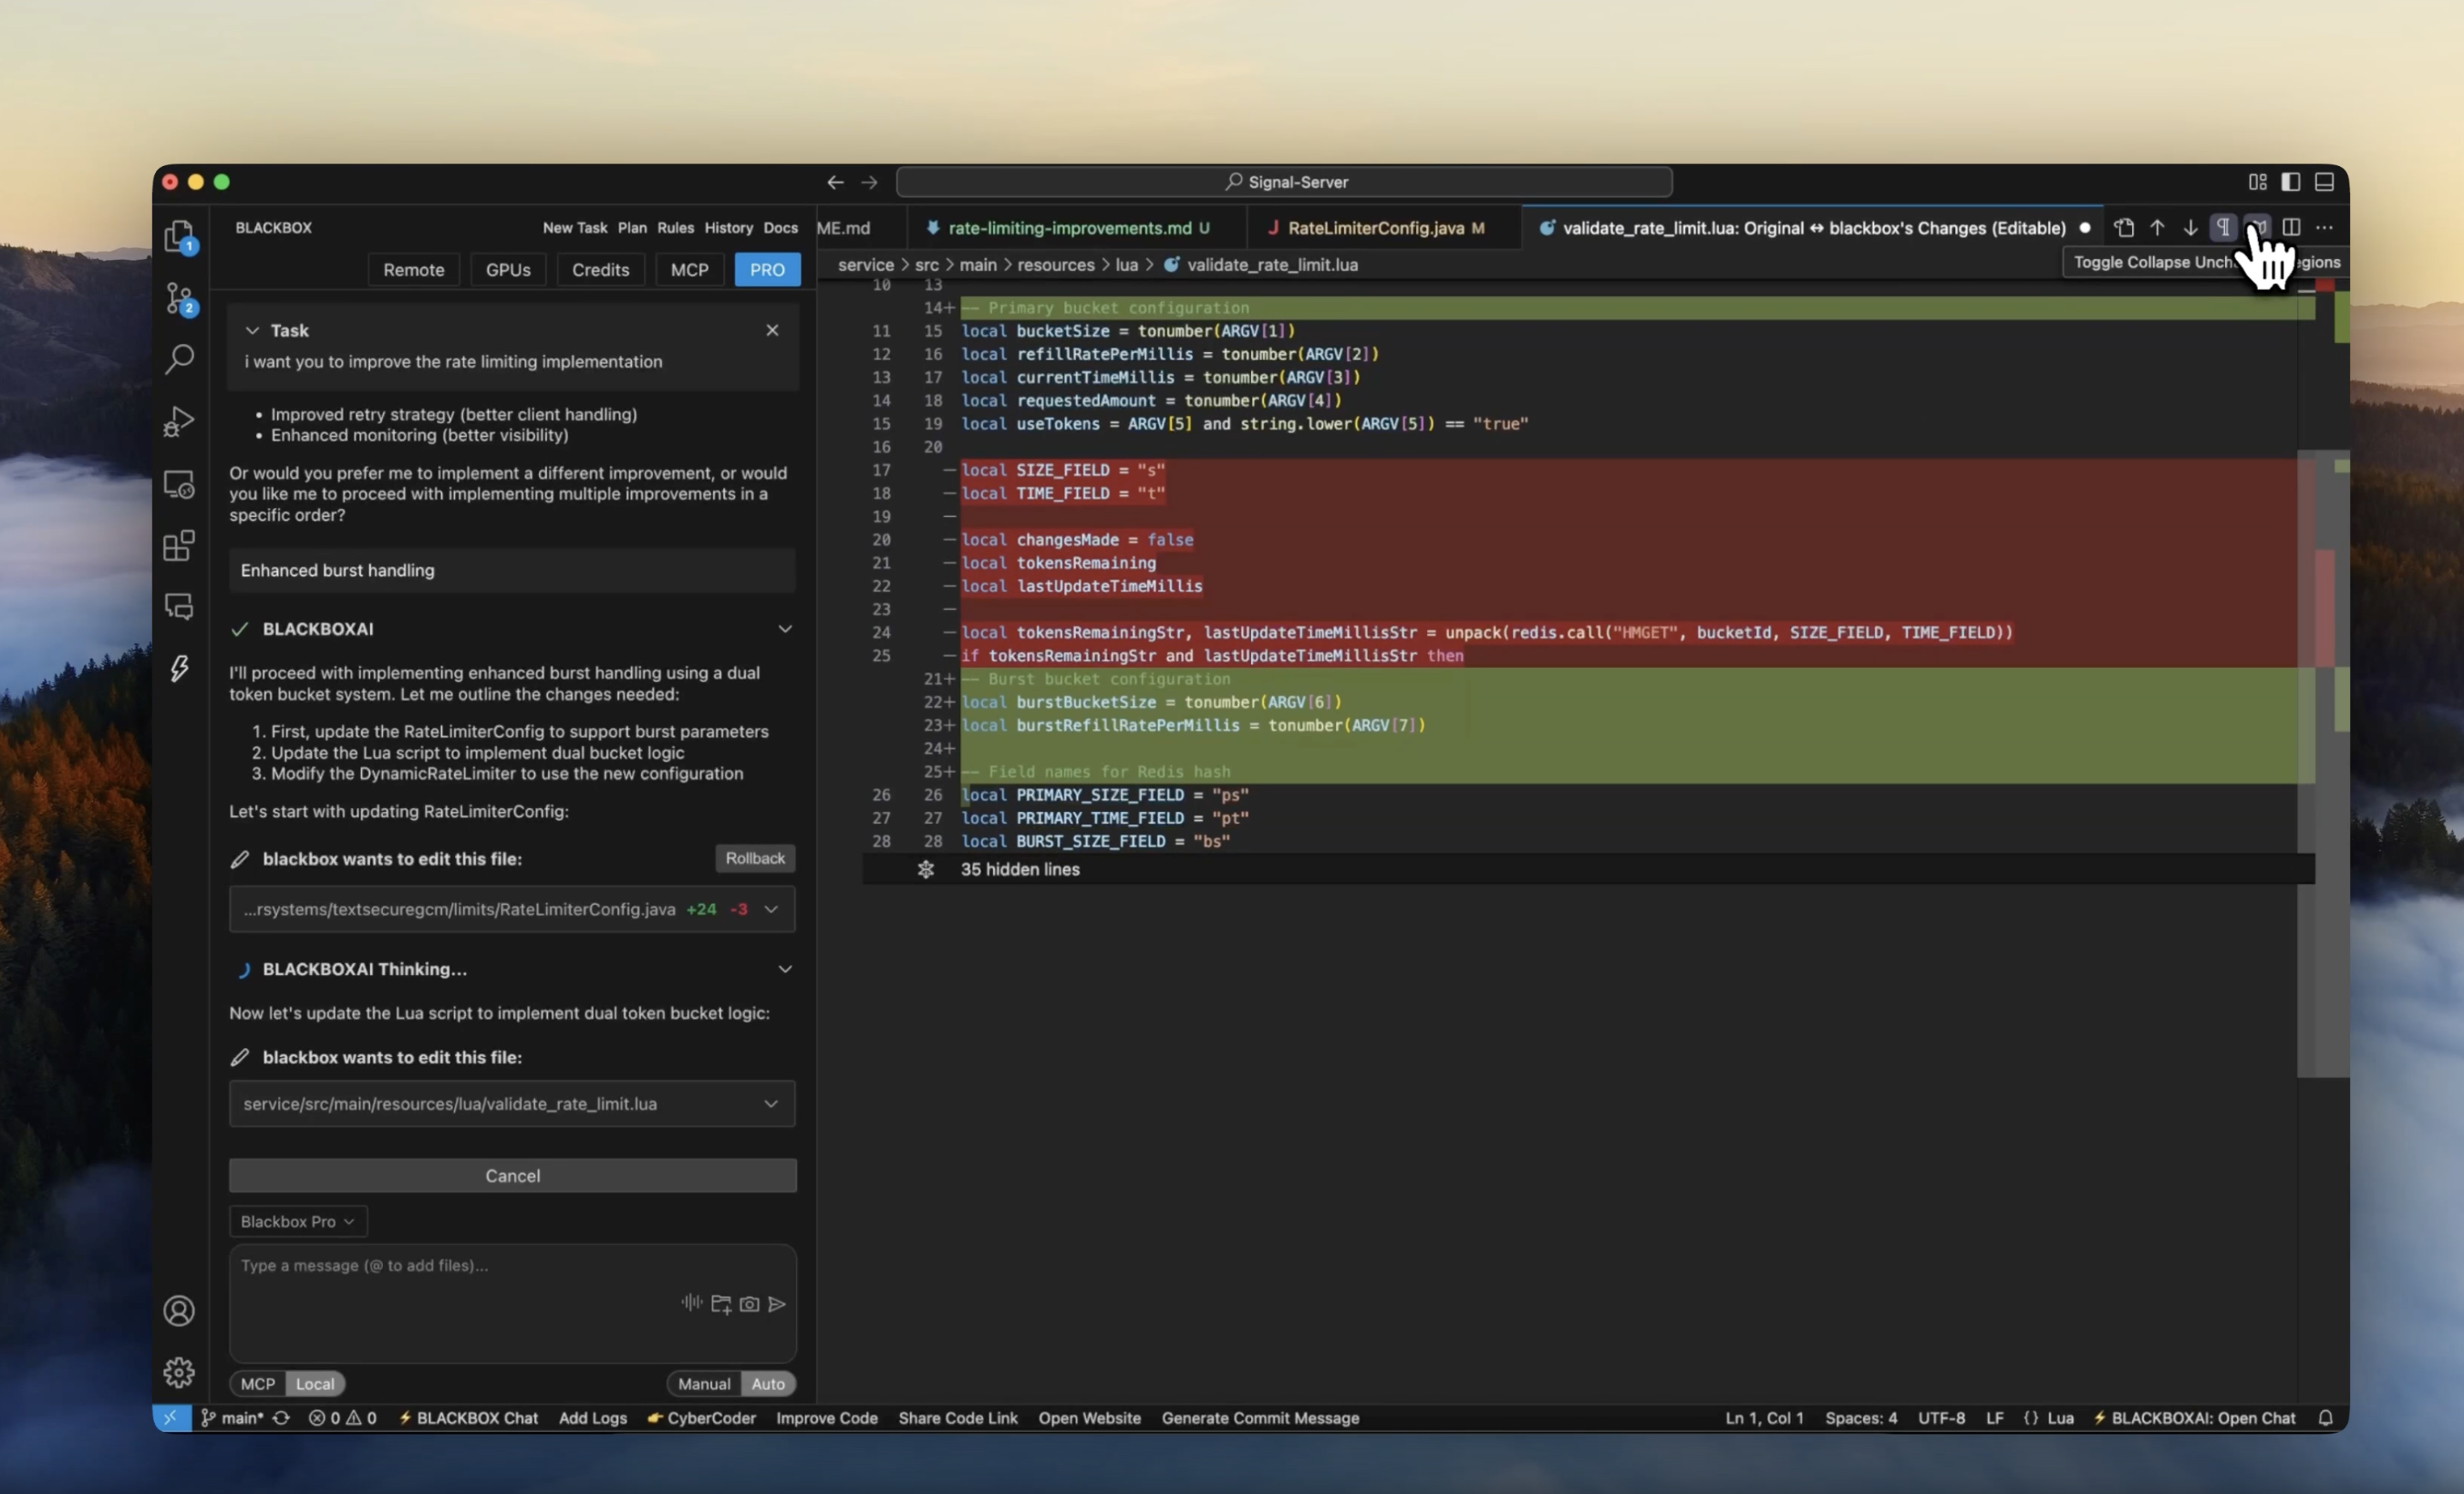
Step 5: Customize Your Workspace
Customize the extension chat window according to your preference by simply dragging it around your VS Code interface. Position it wherever works best for your workflow.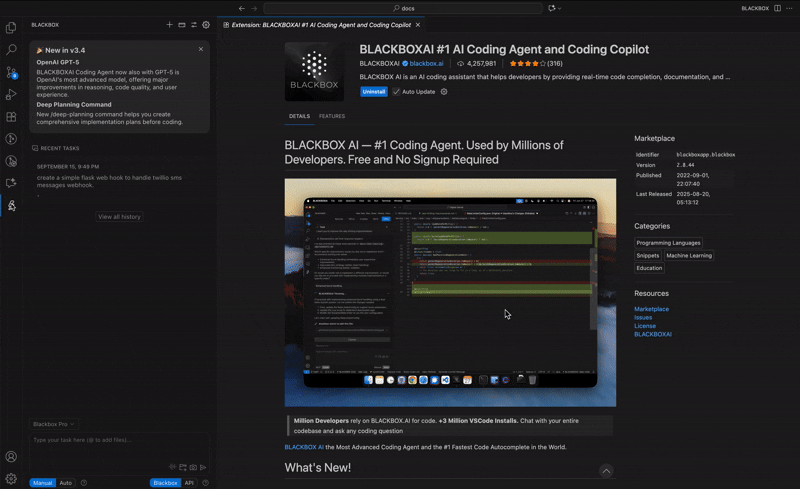
Additional Configurations/Customizations
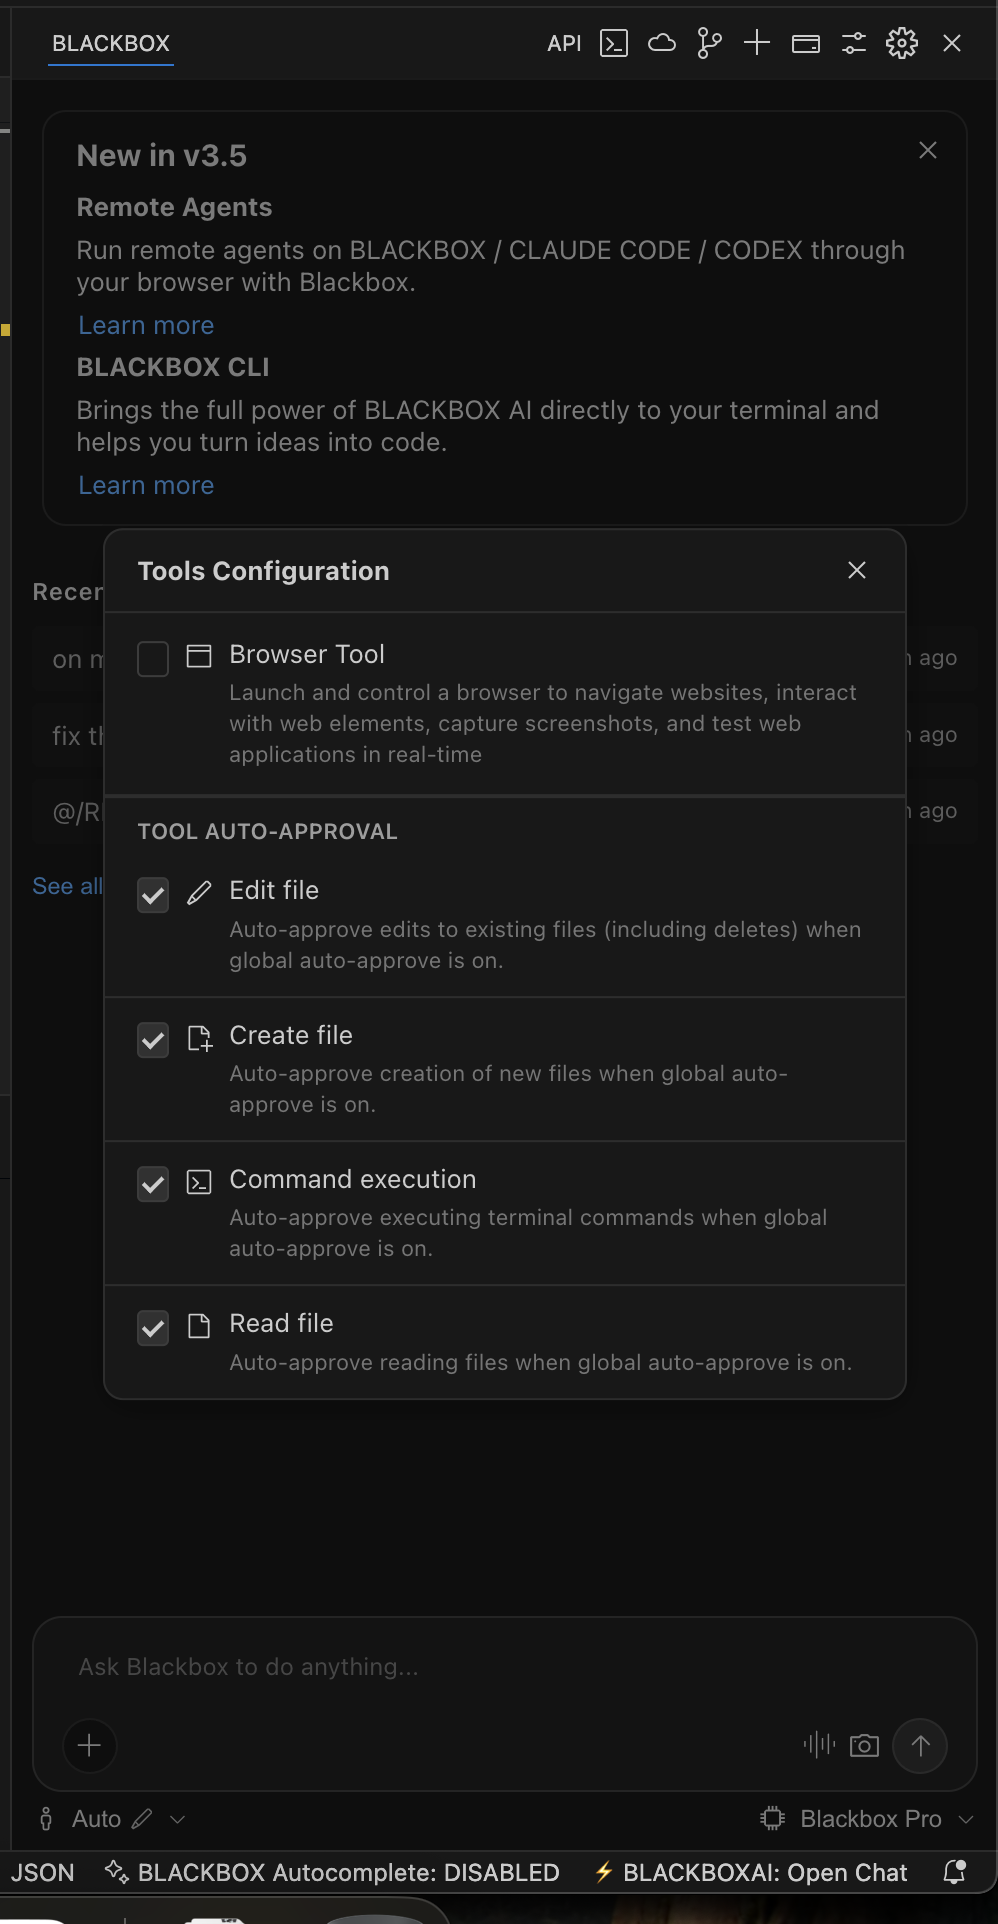
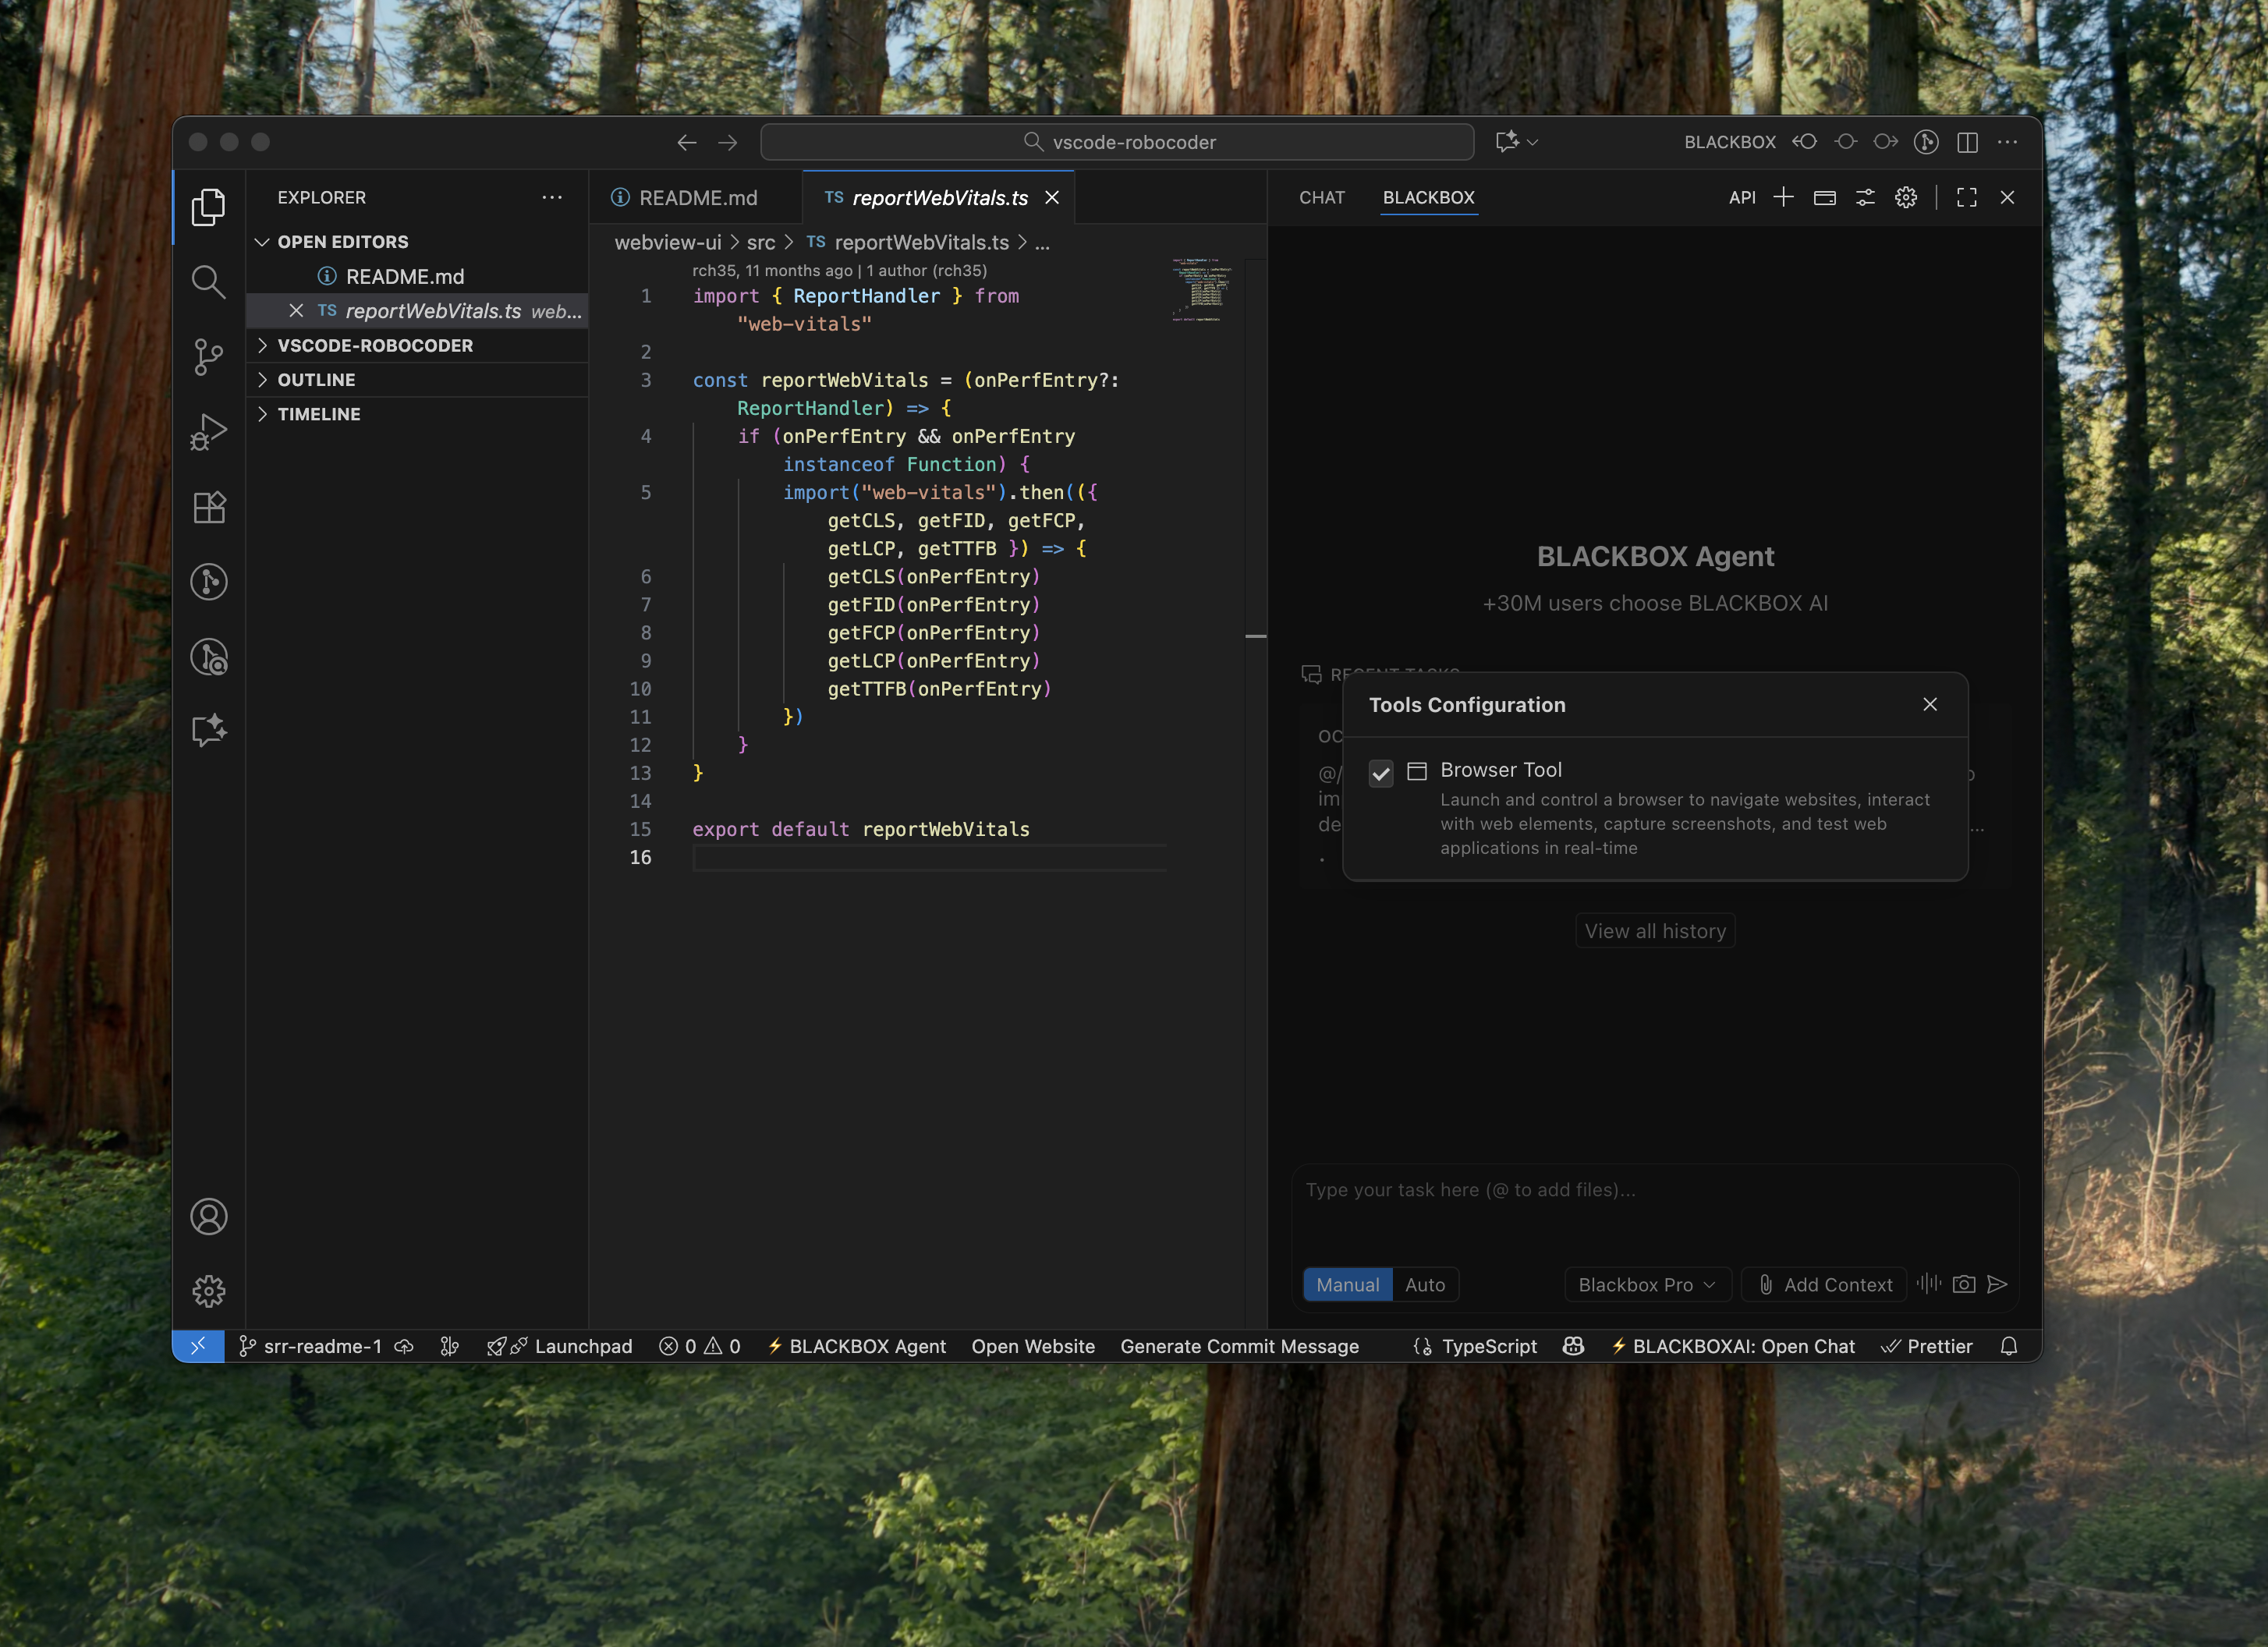
Tool Configuration
Tools are ways to enable additional functionality and power to the BLACKBOX agent to perform various development-related tasks. You can control tools by clicking on the controls icon beside the settings button, selecting tools, and toggling any tool on or off.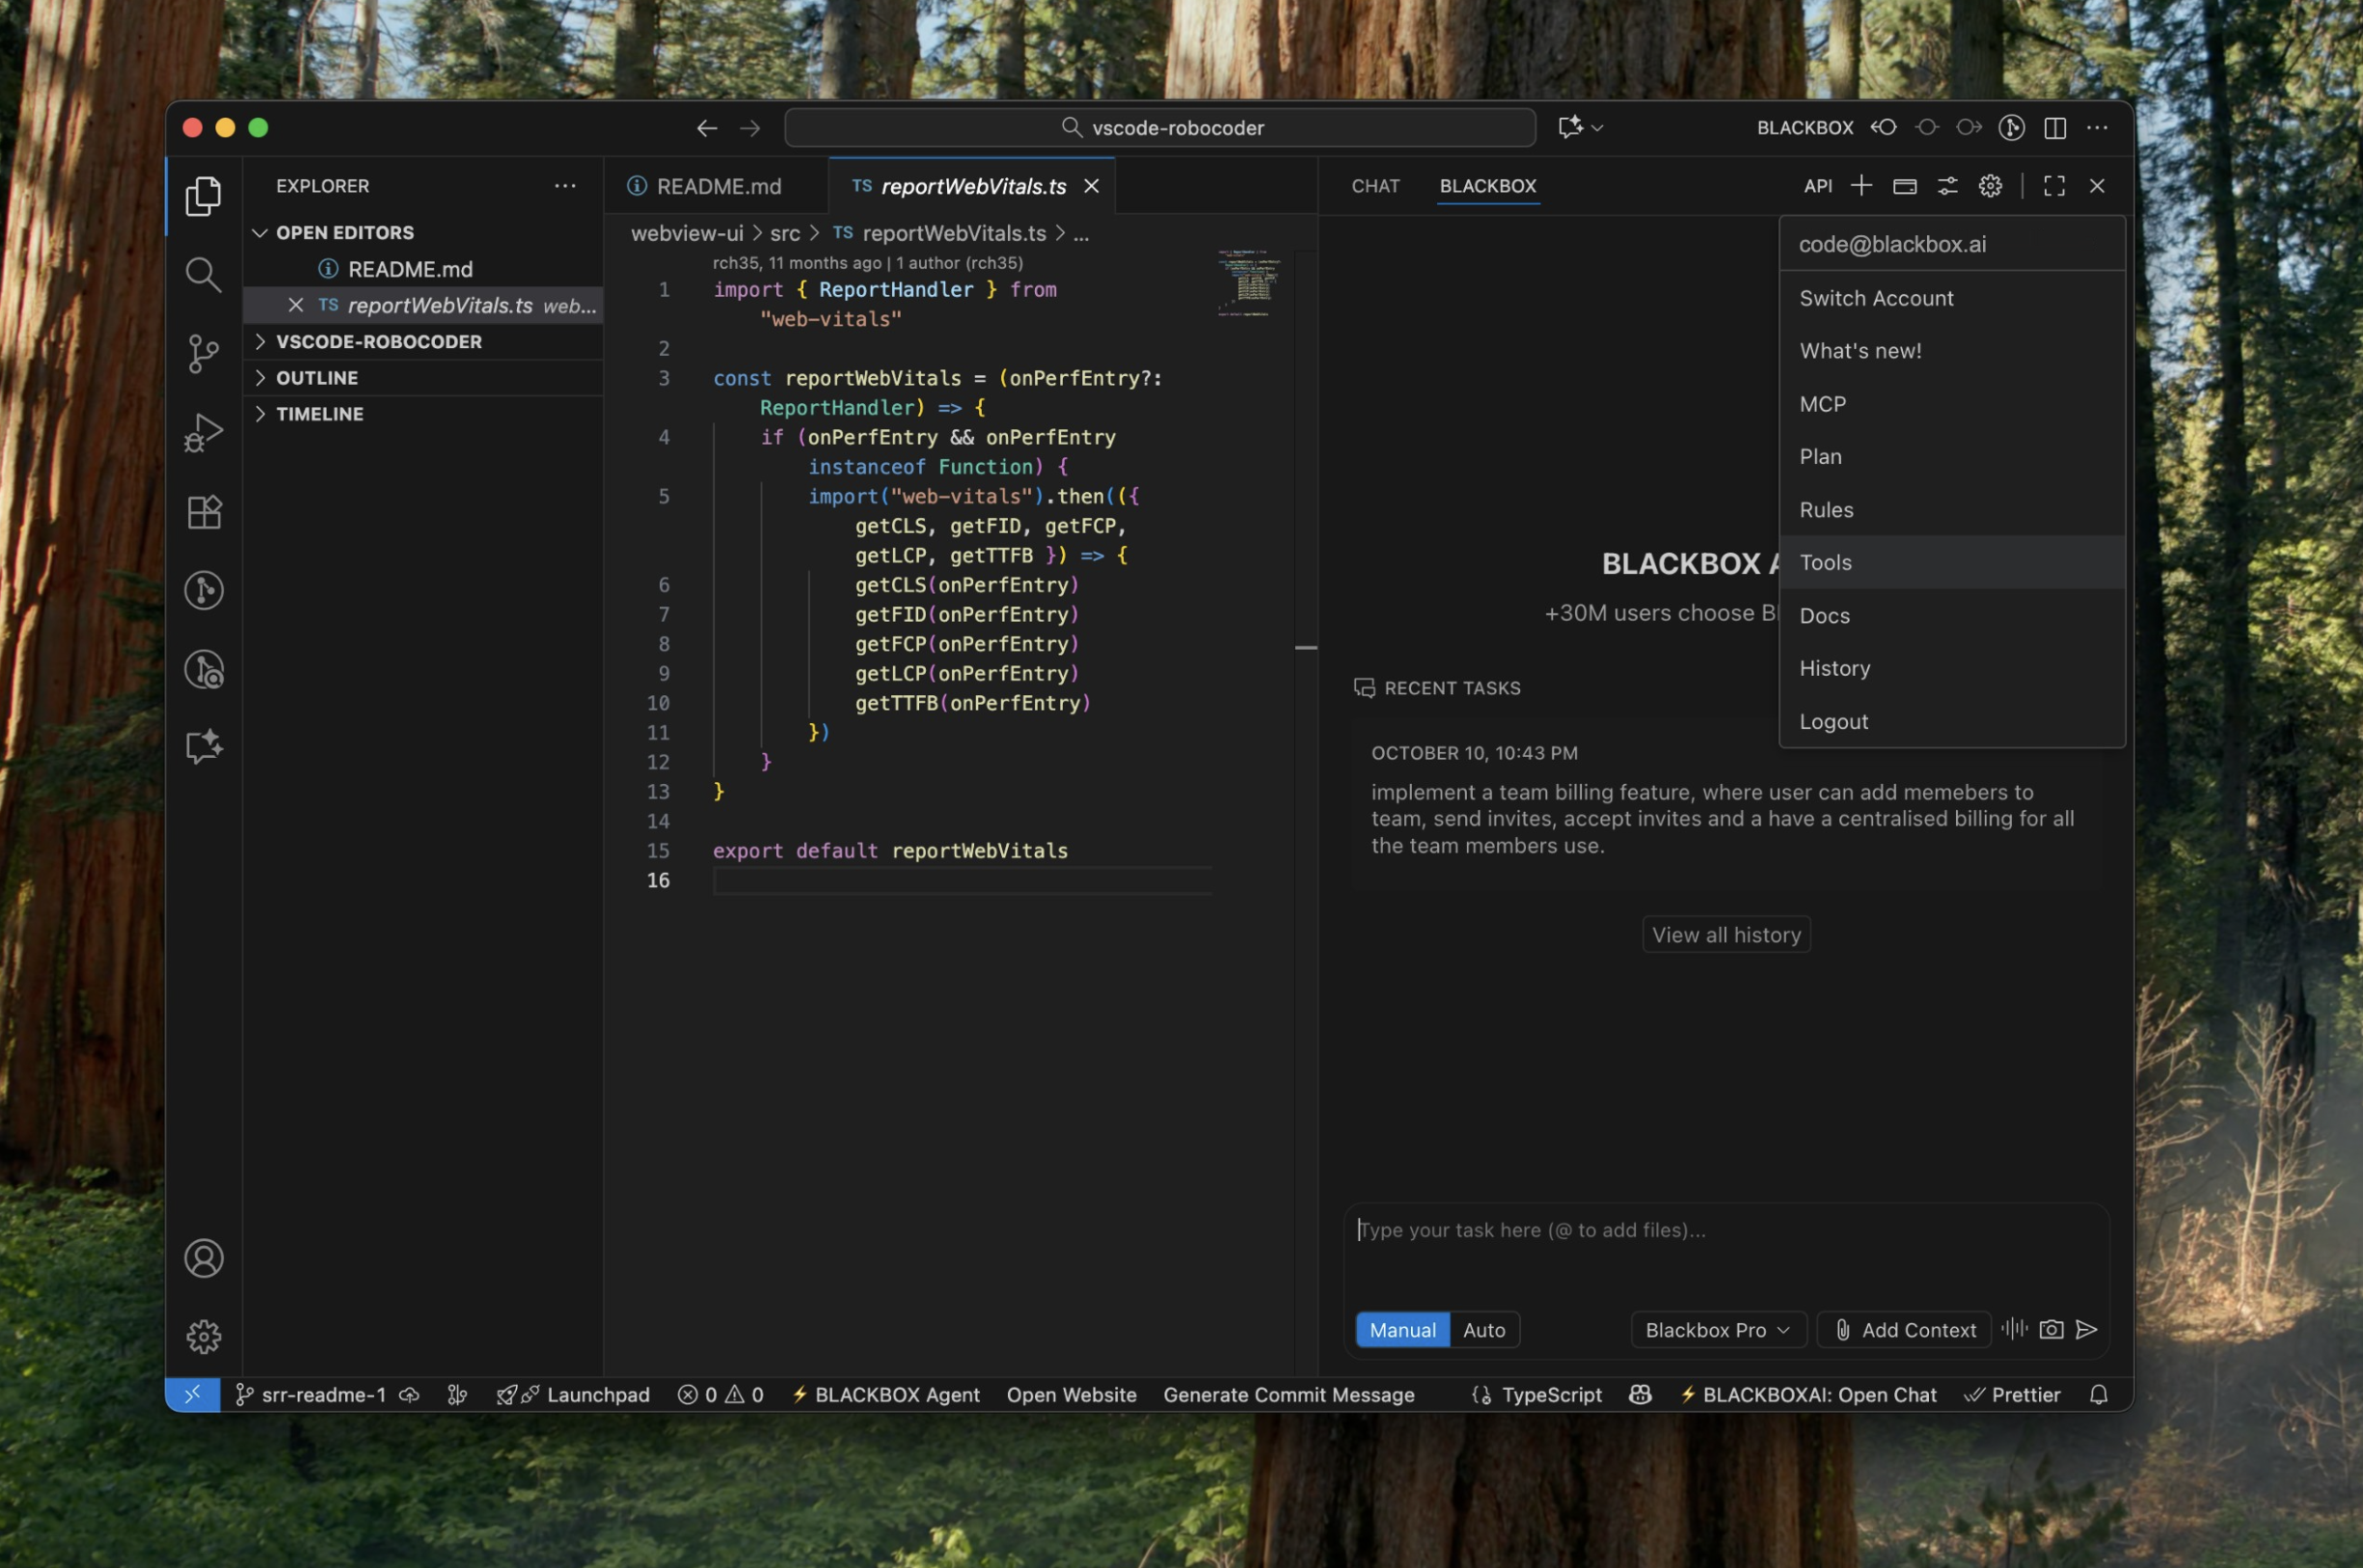
Fine-Grained Auto-Approval
When you enable Auto mode for tool execution, you can still retain control over which operations are auto-approved.Open the Tools configuration from the chat overflow menu (or the edit icon next to the Auto/Manual toggle) to independently enable or disable auto-approval for:
- Edit file
- Create file
- Command execution
- Read file